

Once you launch your app to the shop and folks world wide begin utilizing it, you’ll quickly discover out that there are some odd bugs individuals are experiencing and it’s not straightforward to have a full image of what could be going improper.
It may be straightforward to repair a crash from crash logs. However what if a characteristic isn’t working and also you’re out of concepts of what could possibly be occurring and the one factor you may consider is “I want I may debug the app on this person’s cellphone” which after all is never achievable.
On this tutorial, you’ll be taught the fundamentals of app observability, and perceive how your app behaves within the fingers of your clients.
Alongside the best way, you’ll:
- Create an account of Grafana Cloud.
- Combine Open-Telemetry Framework to your iOS app.
- Ship telemetry data out of your app and visualize it on Grafana.
You possibly can be taught extra about App observability from the App Observability Module.
Getting Began
You’re going to begin off by making a free account on Grafana.com.
You should use Google account, Github, Microsoft or Amazon to hyperlink it straight with grafana.
When you achieve this, Grafana will ask you to create a Stack which will probably be your individual portal.
It will probably take a few minutes whenever you open it for the primary time.
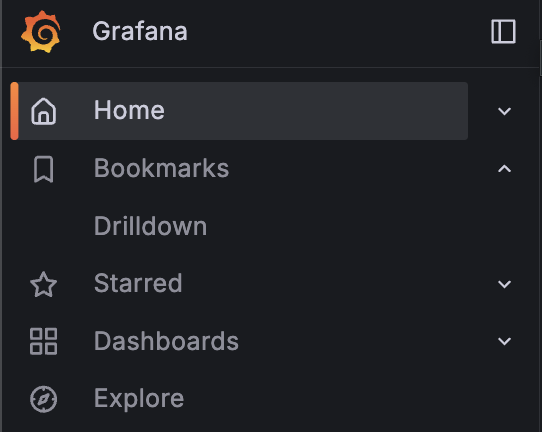
As soon as it’s open, go to the “House” web page from the aspect menu. It will take you to a Getting Began Information web page.
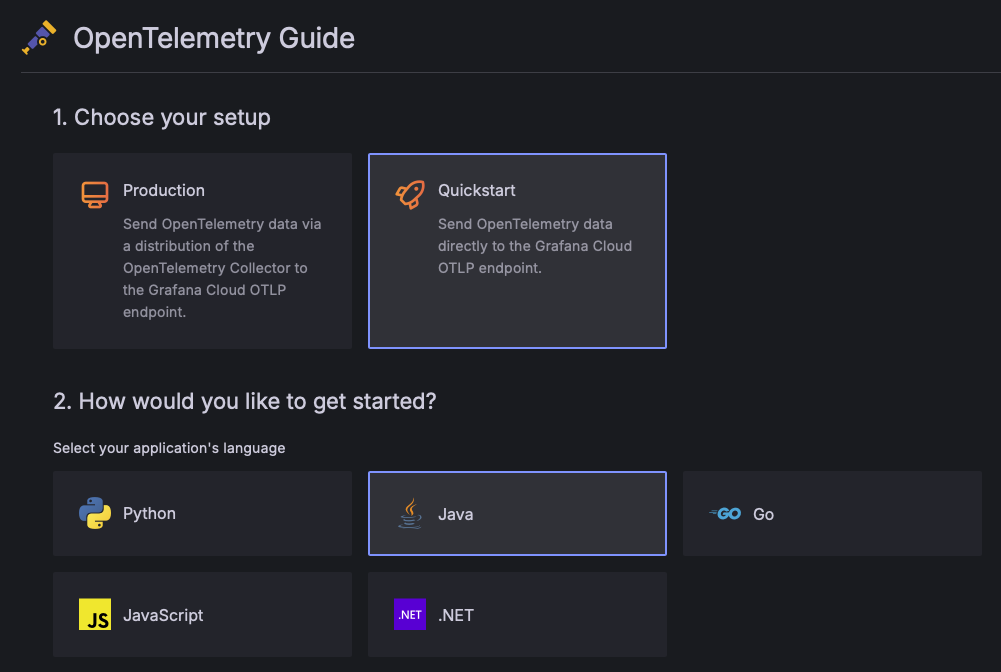
From the listing of choices, Select OpenTelemetry

It will take you to the OpenTelemetry Information web page for OpenTelemetry integration.
Beneath Select your setup choose Quickstart, then choose Java for example.
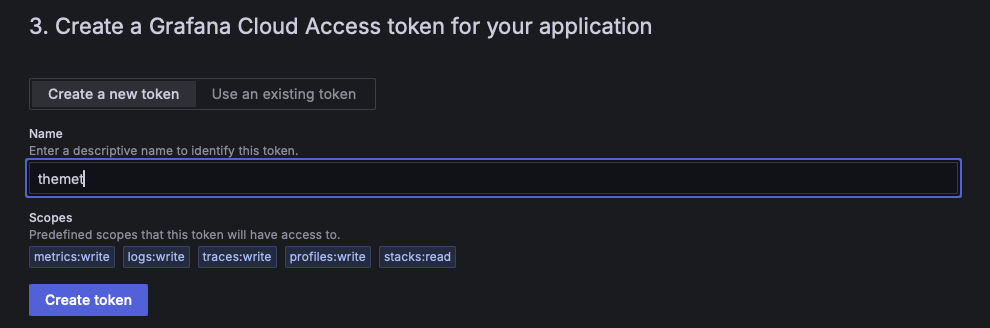
Enter the identify of the app that you just’ll connect with Grafana. Kind themet then faucet on Create token.
It will deliver you to the setup it is advisable to connect with Grafana. Beneath the “Add automated instrumentation” part, you’ll want two issues:
- The authentication token from the OTEL_EXPORTER_OTLP_HEADERS parameter (hidden within the screenshot).
- The URL to your Grafana stack from the OTEL_EXPORTER_OTLP_ENDPOINT parameter.
"Authentication=Fundamental [YOUR_TOKEN]"

Retailer these values , as you’ll be utilizing them in the entire module. Then, press the Proceed button to complete. It is best to see a affirmation message saying “You’re all set!”.
Integrating OpenTelemetry Framework
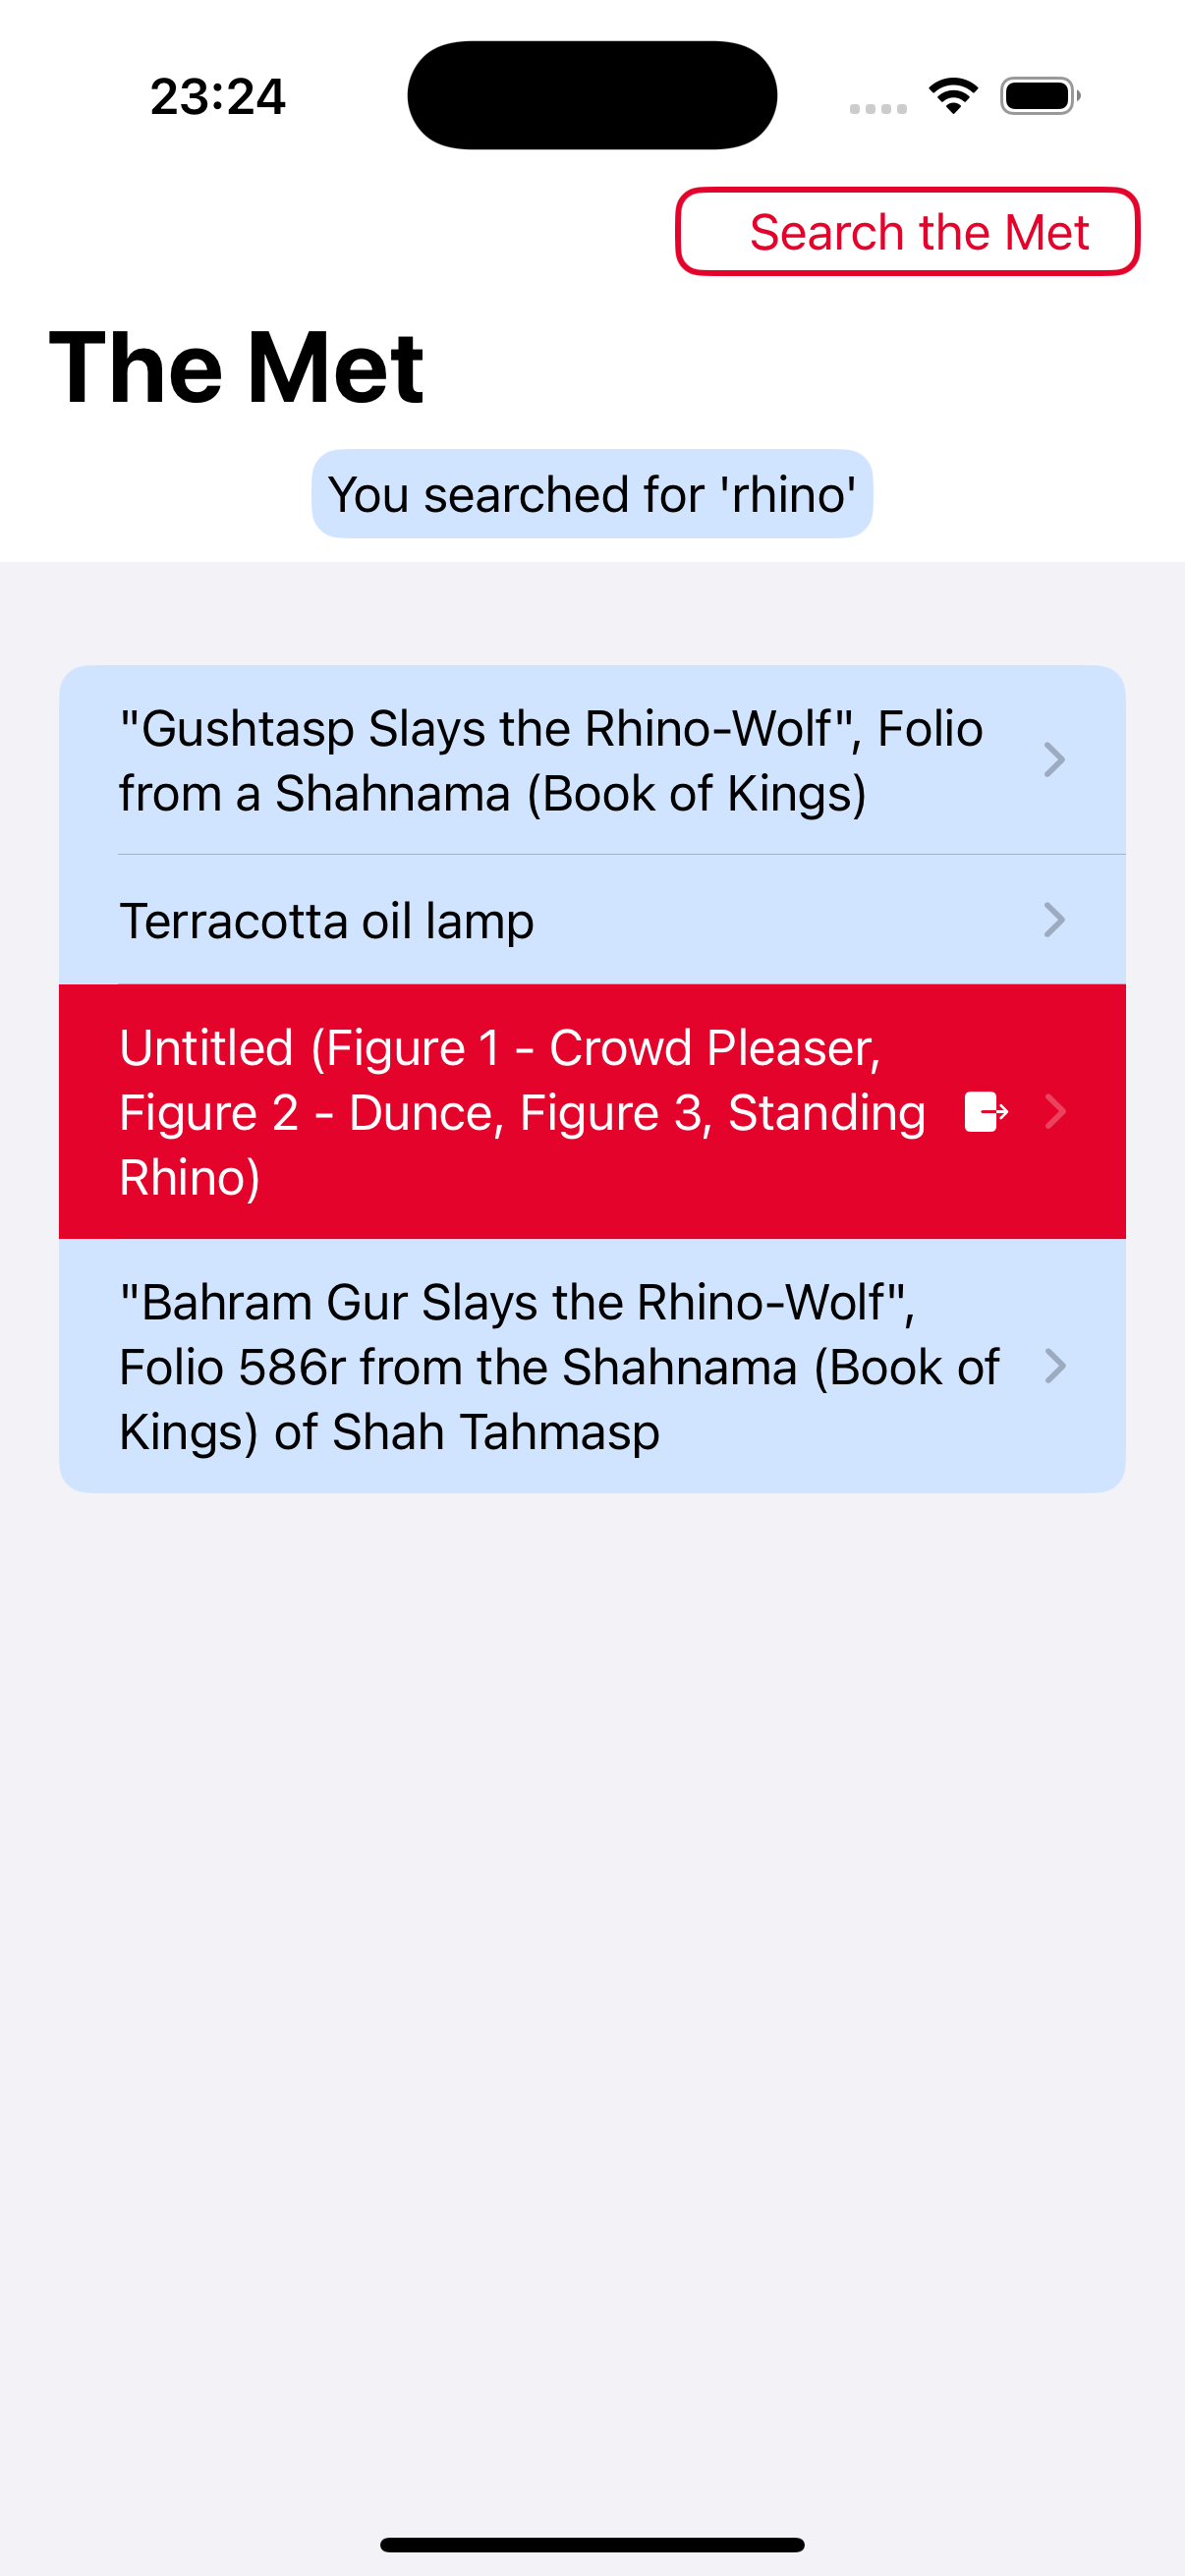
To get began, open the pattern challenge within the starter folder. It’s a cell app that allows you to search the Metropolitan Museum of Artwork with any key phrase and lists the outcomes on display screen.
Begin by including OpenTelemetry’s SPM bundle from https://github.com/open-telemetry/opentelemetry-swift.
Xcode will ask you to decide on which targets to combine in your challenge. Select the next:
- OpenTelemetryApi
- OpenTelemetryProtocolExporter
- OpenTelemetryProtocolExporterHTTP
- OpenTelemetrySdk
Establishing your OpenTelemetry Tracing
Within the challenge navigator, create a brand new folder beneath the challenge file and identify it Observability, then create a brand new swift file named OTelSpans.swift in that folder. Change the code within the new file with the next:
import Basis
import OpenTelemetryApi // 1
import OpenTelemetrySdk
import OpenTelemetryProtocolExporterCommon
import OpenTelemetryProtocolExporterHttp
import ResourceExtension

public class OTelSpans {
  non-public static var shared = OTelSpans() // 2

  var grafanaHttpExporter: OtlpHttpTraceExporter! // 3
  // 4
  let grafanaToken = "" // Set your Grafana token right here
  let grafanaEndpoint = "" // Set your URL right here

  non-public init() { // 5
  }
}
- First you import the targets you added to the challenge by SPM.
- You’ll create a singleton occasion of the category you created
OTelSpansand also you’ll use the shared occasion throughout the challenge. - The
OtlpHttpTraceExporteris the combination object that creates the connection between OpenTelemetry framework in your app and Grafana - Set these properties to the token and URL you copied from Grafana within the earlier part. Integration received’t work with out them.
- Lastly, an empty non-public init technique. You’ll be filling it in now.
Add this to the non-public initializer:
let grafanaEndpoint = URL(string: "(grafanaEndpoint)/v1/traces")! // 1
let grafanaHeaders = OtlpConfiguration(headers: [("Authorization", "Basic (grafanaToken)")],
                                       exportAsJson: true) // 2

grafanaHttpExporter = OtlpHttpTraceExporter(endpoint: grafanaEndpoint,
                                            config: grafanaHeaders) // 3

let spanProcessor = SimpleSpanProcessor(spanExporter: grafanaHttpExporter) // 4

OpenTelemetry.registerTracerProvider(tracerProvider:
                                     TracerProviderBuilder()
  .with(useful resource: DefaultResources().get())
  .add(spanProcessor: spanProcessor)
  .construct()
) // 5
- Create a URL occasion with the the Grafana server.
- Create the configuration Grafana must authenticate the connection towards your Grafana stack that you just created. Its a tuple of strings, and specified the information to be despatched as JSON.
- Create an occasion of
OtlpHttpTraceExporterutilizing the URL and the configuration. - Create a processor that will probably be accountable for sending the spans by your exporter. You’ll be utilizing the straightforward processor for now.
- Lastly, You register the hint supplier by its builder. The builder can take some sources to incorporate with each span, that are a set of key-value pairs to incorporate in all of the spans. Then move the builder the processor you simply created.
Add this technique to OTelSpans proper after the initializer:
inner func tracer(  // 1
  scopeName: String
) -> any Tracer {
  let instrumentationScopeVersion = "semver:0.1.0"  // 2

  let tracer = OpenTelemetry.occasion.tracerProvider.get(  // 3
    instrumentationName: scopeName,
    instrumentationVersion: instrumentationScopeVersion)
  return tracer
}
- The brand new technique takes a string as a parameter and returns an object conforming to
Tracerprotocol. - Lastly, you get the tracer object from OpenTelemetry and return it.
To get the tracer occasion, it is advisable to specify an instrumentation identify, which is the parameter handed to the strategy, and a model which you’re setting as a continuing. The “semver” is brief for Semantic Model.
Now so as to add a way to create a span, add the next after the final technique on the finish of the category:
public func createSpan(  // 1
  scopeName: String,
  identify: String
) -> (any Span) {
  var spanBuilder = tracer(scopeName: scopeName)  // 2
    .spanBuilder(spanName: identify)

  let span = spanBuilder.startSpan()  // 3

  return span
}
- The tactic takes two string parameters, as soon as for the scope identify that you just’ll use to get a tracer, the second is the identify of the span.
- Utilizing
tracer(scopeName: String)technique you created earlier, you get the tracer and thru it a span builder whereas defining a reputation for any span created from this builder. - From the builder, get a span that’s already began. Beginning the span is equal to setting the beginning date to
Date.now.
Since OTelSpans is maintaining the shared property and the initializer non-public, it could make the utilization of your characteristic straightforward by making a category technique that forwards the decision to its personal inner occasion. Add this technique:
public class func createSpan(
  scopeName: String,
  identify: String
) -> (any Span) {
  shared.createSpan(
    scopeName: scopeName,
    identify: identify)
}